Showing posts with label BobNBetty. Show all posts

Thursday, 23 March 2017

A quirky pair of shoes feat. Bobnbetty papers!!!

Heya
Pratyusha here with a super quirky project this time, after all its made from the latest minion themed papers released by Bob n Betty ðŸ™‚
The moment I layed my eyes on these, I knew I wanted to make a wearable pair of shoes. I wear shoes most of the time to college as well so had an extra pair, which I haven’t used at all. So decided that this time I should make Minion Inspired shoes for myself.
The procedure is as follows:
1) I primed the canvas shoe with a coat of gesso.
2) Gave a base coat of Cadmium Yellow.
3) From the paper pack I cut out minions in different sizes and use decoupage matt glue to glue them to the sides of the canvas shoe.
4) For the tongue of the canvas shoe I cut out the pattern from the paper pack with blue background and yellow polka dots. I didn’t have to do much work here as the papers themselves have a lot of depth. I pasted the pattern again using decoupage matt glue.
5) Once everything was dry used Ochre yellow to put in some highlights.
6) Added black paint to accentuate the design and let everything dry overnight.
7) Gave a coat of water based varnish and let it dry
And tadaa…my own pair of decoupaged Minion shoes is ready to flaunt!!! I already wore it to a small party ðŸ™‚
Quite a quirky pair I would say!!!
Love
Pratyusha
Thursday, 9 March 2017

My first ever Mini album Feat. Bobnbetty papers

Heya Lovelies,
Pratyusha here, with a brand new project with Bob n Betty’s Valentine release “No One But You”. Well, these papers are so apt for scrapbooking that I too finally jumped in that zone. Being a first-timer, I didn’t have to struggle much as the papers do half of your job, they are so complete in themselves that you hardly need to use stamps or stencils to give volume to your layouts.
Now comes the tricky part, the album construction….phew..!
This album measures 4x6inches. As I am entirely new to the album making, I wanted to try out something very basic.
The outer cover is made from red cardstock of 220gsm. I layered elements from the diecut sheet (included in the collection). Used a chipboard frame that was heat embossed to match the red cardstock to add some sparkle!!!
The inner pages are pretty much simple. I made 8 pages in total. Few pages have pockets that could hold tags which were again cut from the die cut sheet in No one but you collection.
I added the papers as desired and chipboard elements to brighten up the scene!!
I am sure to develop more skills in album making in future to bring in more zing to this aspect ðŸ™‚
Much Love
Pratyusha
Thursday, 2 February 2017

Butterfly earrings with a recycle twist!!!

Heya Friends!!
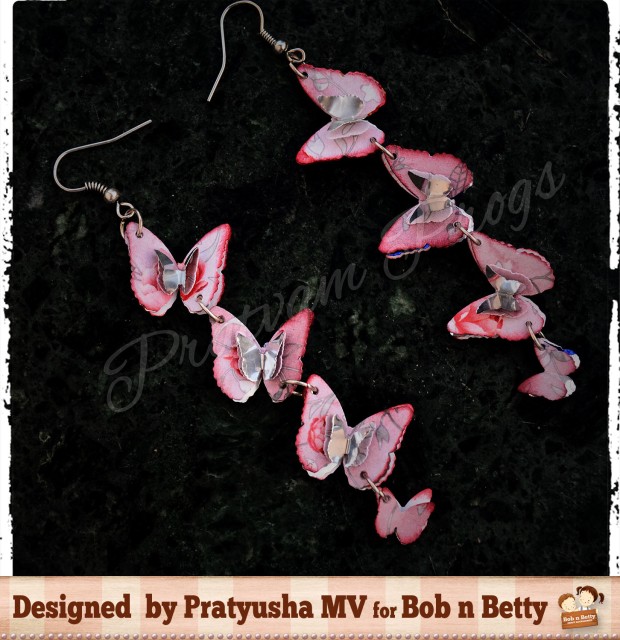
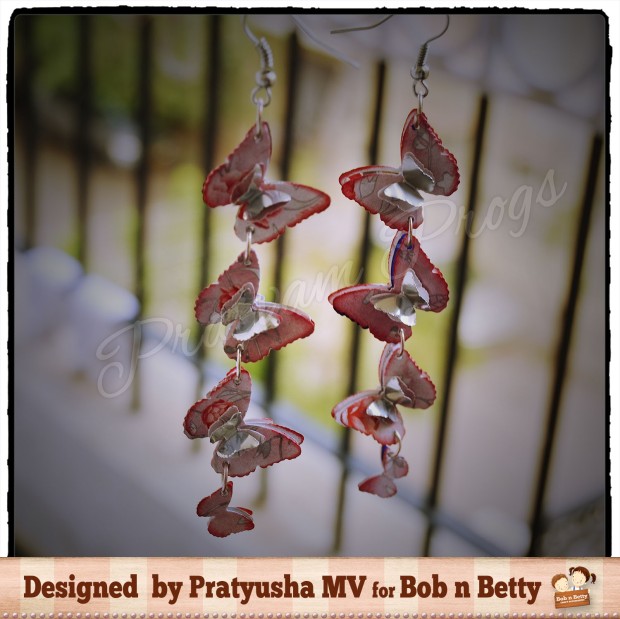
Well, this time I’ve created a pair of earrings using the Bob N Betty Coral cluster paper pack and Red Bull cans!!!
The earrings are lightweight and look elegant.
A small walk through of the steps.
1) I selected a pattern paper of my choice from the Coral Cluster collection. Using my Martha Stewart punch, I punched out the butterflies multiple times.
2) I used the butterfly punch to punch out butterflies from the red bull can as well.
3) Seal the pattern paper butterflies with varnish and let dry.
4) Sandwich one red bull can butterfly (big) punch out between 2 pattern paper butterflies (big) and punch holes in the opposite side of the wings. Take 1 small pattern paper and 1 small red bull can butterfly and shape them accordingly and glue it to the bigger butterflies in the center!!!
prer03
5) Once assembled, put in jump rings to connect the butterflies as shown in the pic and add in the findings.
prer02
In the similar manner you can make curtain strings or wind chimes too ðŸ™‚
Hope you enjoy the project and try it out.
Much Love
Pratyusha
Monday, 14 November 2016

Specialty decoupage paper by Bobnbetty for Decoupage jhumkas!!!


Hey friends,
Pratyusha here with another tutorial on how to use Bob n Betty Decoupage Specialty Papers on quilled jewellery. …
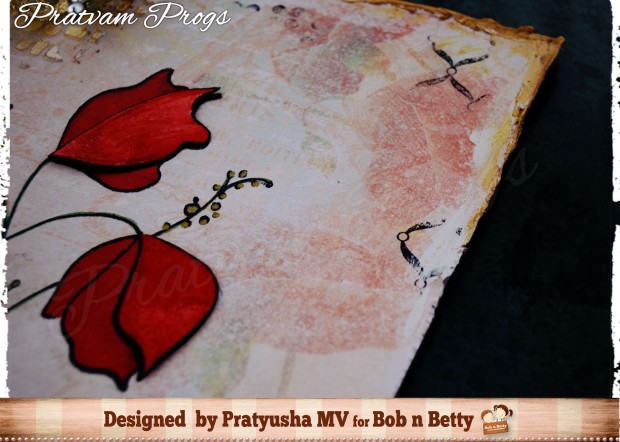
Do share your feedback🙂
Much Love..
Pratyusha
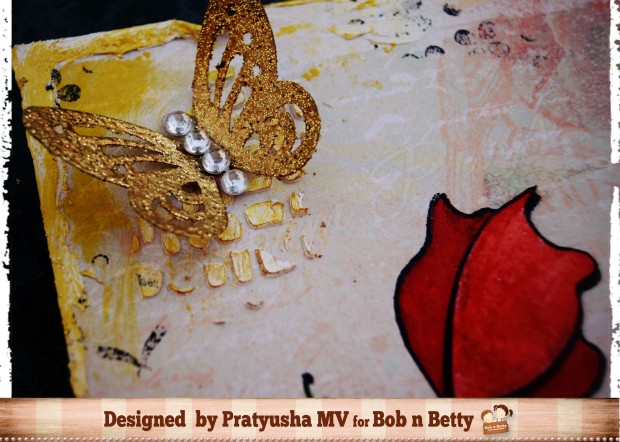
Tuesday, 4 October 2016

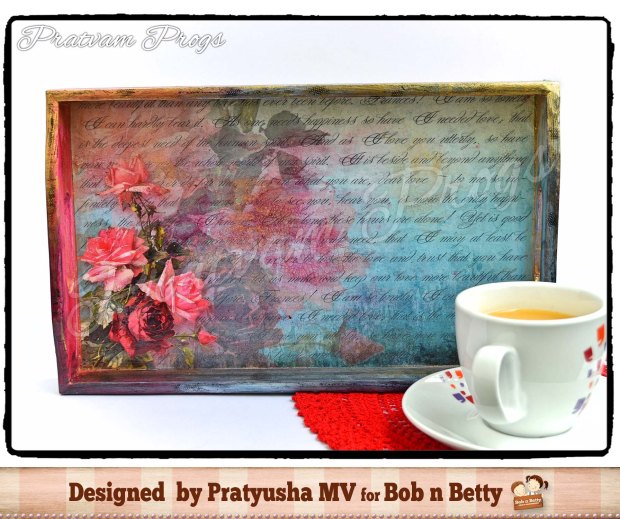
A DECOUPAGED TRAY MADE FROM VINTAGE BLOOMS PAPER COLLECTION

Hello Fellas…
Pratyusha here with a new blog post, Hope you all are enjoying the festive season.
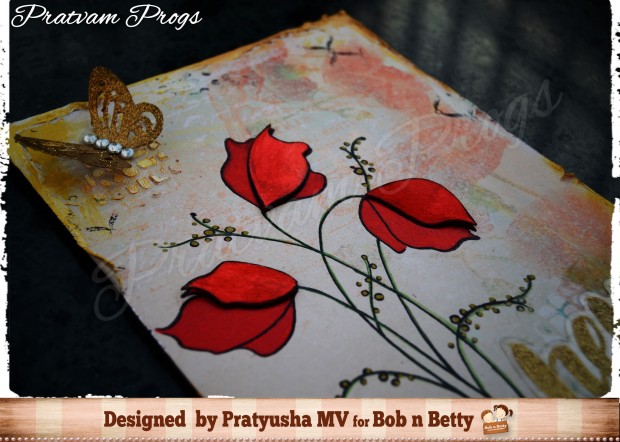
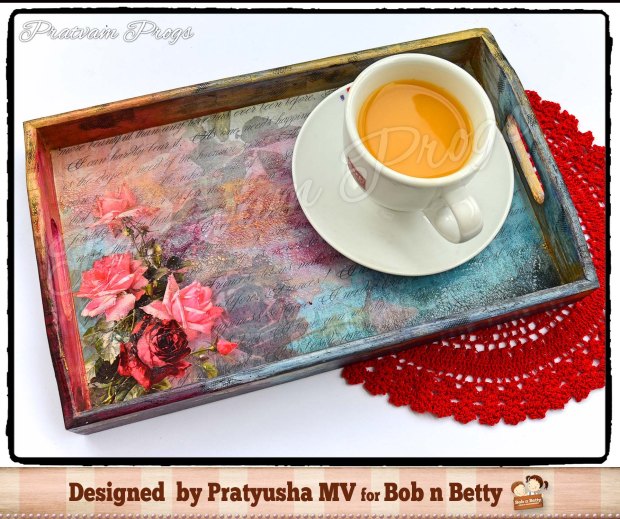
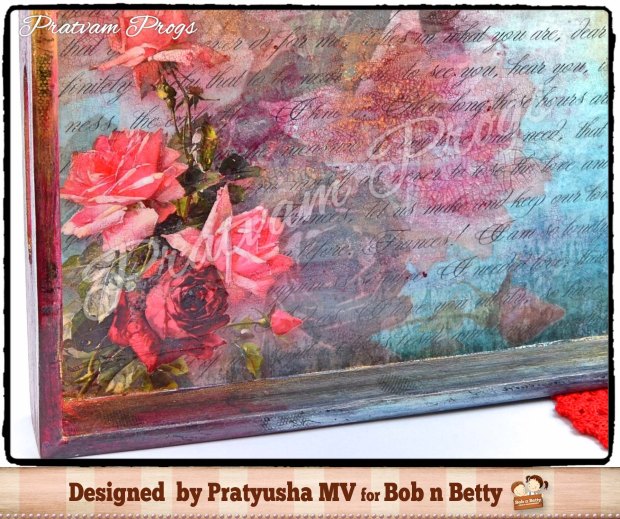
Well as the festivities are absolutely on my mind, I decided to create something peppy for this month’s blog post. No Doubts, a lot of guests come over home during this time of the year, so the idea of making a bright and colorful serving tray blown my mind. So, I picked up my all time favorite Vintage Blooms of Bob n Betty and there you go……
pmv001
Here is the procedure I followed:
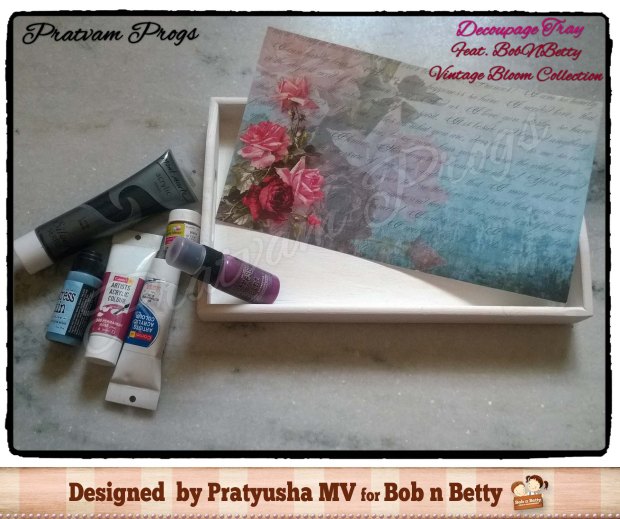
  1. Select a pattern paper you like from. Cut it to fit the tray you choose.
  2. Apply gesso onto the tray surface and let dry between coats. Give at least 2 coats of gesso.
pmv002
3. Apply a layer of Decoupage glue over the tray surface and stick the cut pattern paper in place and let dry.
4. Select paints that go with your pattern paper and paint the tray accordingly. I used acrylic paints and Tim Holtz distress paints to get the vintage effect. Let it dry.
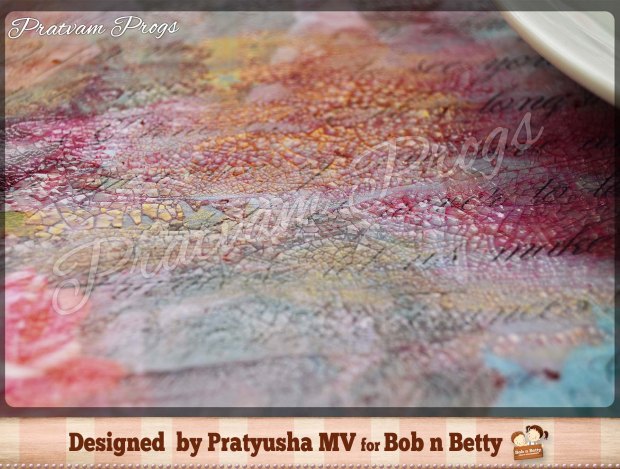
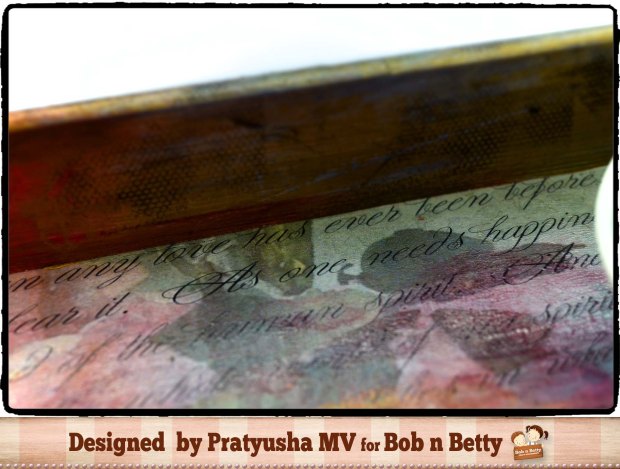
5 Once dried, I used Tim Holtz script stamp and Stazon black ink to randomly stamp all over the tray.
6. Used one-step crackle paint from Tim Holtz over the pattern paper and let dry till the cracks were formed.
pmv003
7. Gave highlights with Viva Decor Inka gold- Gold paint.
pmv004
8. To finish and seal the project I used Asian Paints wood varnish!!!
pmv005
pmv006
Hope I’ve been able to inspire you to create something for your home.
Cheers…
Pratyusha
Saturday, 13 August 2016

A CUSHION COVER MADE WITH IMAGE TRANSFER TECHNIQUES – DECOUPAGE SPECIALTY PAPERS

Hello Friends,
Pratyusha here with yet another project with Bob n Betty Decoupage Specialty papers.
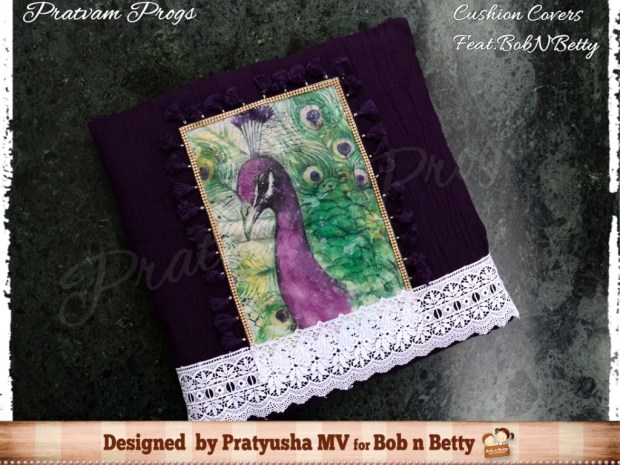
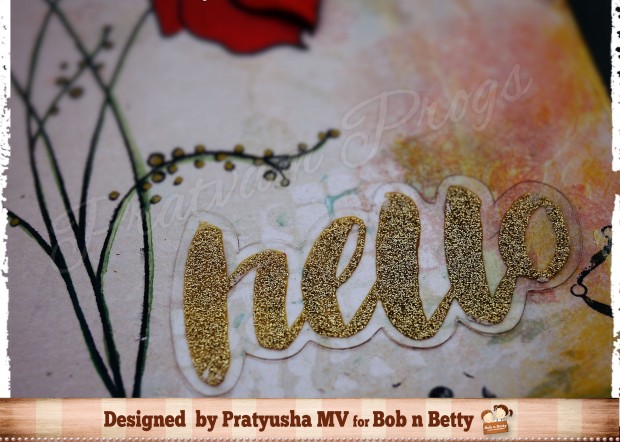
Well, I got bored of using the papers same way!!! So I decided to give a trial run at using the gorgeous decoupage specialty papers for home décor purposes. Thus I came up with the idea of using it to make a cushion cover that could be utilized on day to day basis!!!
I am totally stoked by the gorgeous patterns that are being released in this Decoupage specialty papers series.
So here’s what I created!!!
PMV001
PMV003
Yup the trial did work out just perfect. Now this belongs to my mum as she is denying removing the cover and has been using it in our living room and flaunting it in front of everyone visiting our home. J
A little walkthrough about the procedure followed!!!
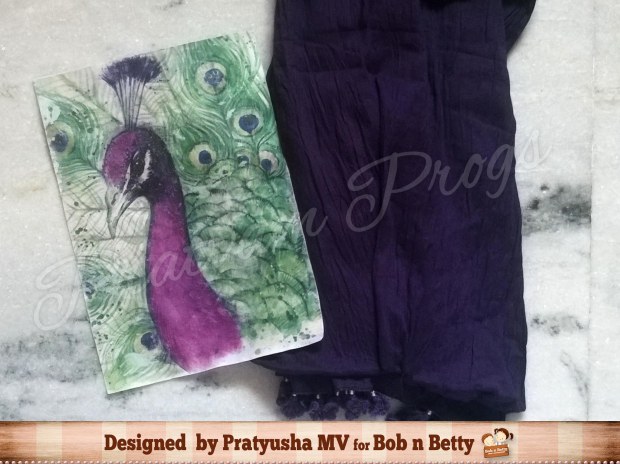
Like I did in my previous post where I transferred image onto a canvas cloth, this time I transferred the image onto a soft cloth following the same procedure stated before.
PMV002
After the transfer Is done onto the cloth. Cut out the cloth so that you get just the pattern out.
Next select a fabric that matches the color of the image transferred cloth and get down to the sewing machine to get the image transferred cloth attached to the fabric.
As you know that I have basic sewing skills so I took help from my mum to make the cushion cover. This is a simple envelope cover for which tutorials are freely available online!!
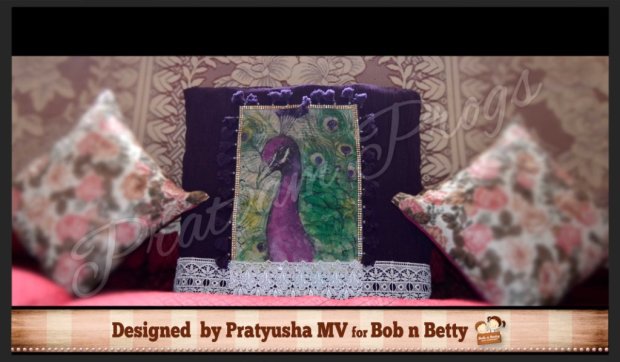
And this is how the charming cushion is adding spark to my living room.
PMV004
Hope you all like the project🙂
Hugs..
Pratyusha

Thursday, 11 August 2016

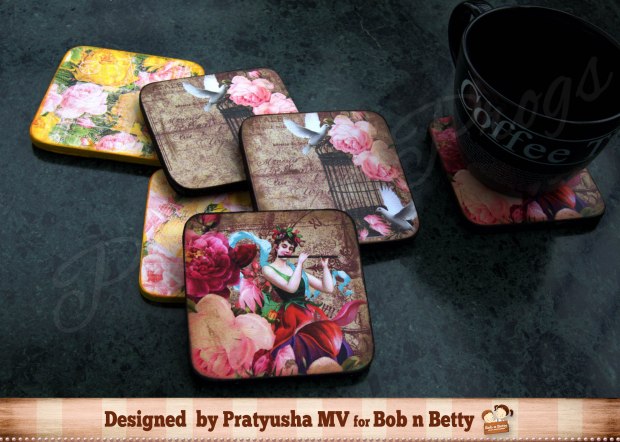
DECOUPAGED COASTERS ADORNED WITH FLORAL NYMPHS PAPER COLLECTION

Hello Folks,
Have you ever thought of giving a creative bend to your table placed at home? Why not add some fun element to your home by incorporating a décor scheme to your table? This idea enthralled me and I decided to use it in my project and ended up making the decoupage coasters to beautify the table appearance in my own creative way. The project reflects coasters which can be used as an exclusive home décor item.
PV001
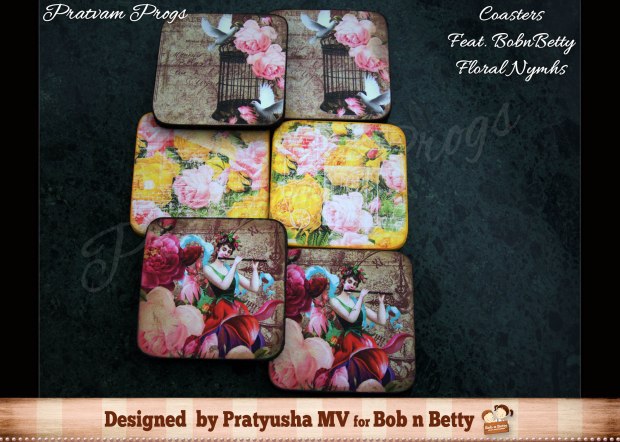
For giving the perfect shape to the coaster, I used the gorgeous pattern papers collection of Bob n Betty, Floral Nymphs. The papers are beautiful amalgamation of vintage and vibrant flowers. It was the best choice for my project. There are so many elements which can be used giving a different dimension to the coaster.
PV002
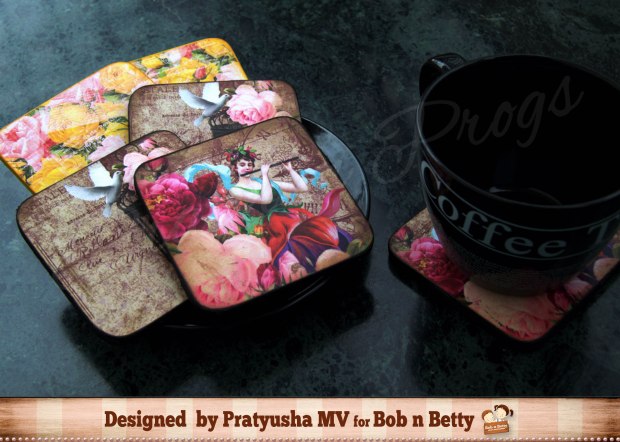
The base is of MDF, which was coated with gesso. The pattern papers were cut into the shape a little larger than the MDF blank. I used decoupage matt glue to stick the cut out pattern paper onto the MDF blank. Once the glue was dry I used sandpaper to smooth the edges and remove the excess of the pattern paper from the sides. The sides of the MDF blank were painted with black and yellow acrylic colors.
PV003
I used co-coordinating colors of distress inks to give it a vintage look. I then gave 2 coats of decoupage gloss glue and then gave 1 coat of Varnish to seal the creation!!!!
Hope you too liked the outcome.
With Love
Pratyusha

Friday, 3 June 2016

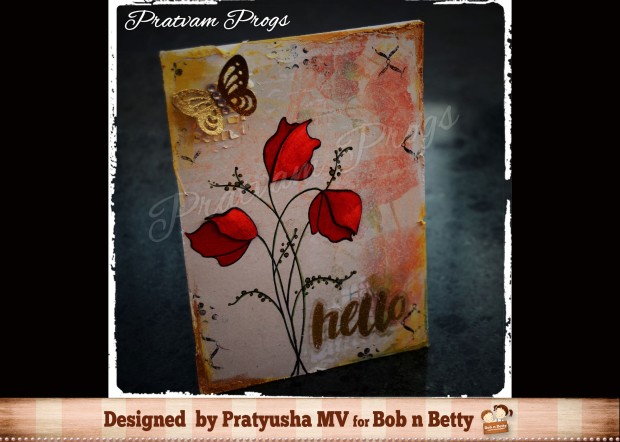
A FRIDGE MAGNET MADE WITH PAPERS FROM “SUMMER CHARM” COLLECTION

Heya folks,

In the conceptual art of crafting, even the home appliances seem to be a canvas for painting. This truly reflects the creative hunger of an artist who gives an innovative bend to whatever they perceive. Why not make everything around you beautiful and eye catching? A similar speculation knocked my mind when I saw my fridge standing at the corner, begging for some attention. 

The moment I received SUMMER CHARM collection from Bob n Betty in this month’s DT Kit, I made my mind to make a “Fridge Magnet”. 

The project was a bit easy to make as the pattern paper itself had a lot of minute details to be captured. The details were subtle and gave the project more depth appearing to have created multiple layers. The flower design on the paper set was appealing to the eye and reminded of Penny black flower stamp sets, thereby using the Penny black divine stamp set here.
PMV06
So here is a small walkthrough….
1) I selected the paper and cut it to fit 5X3 inch canvas.
2) Then distressed the edges of the paper, sticking it on the canvas.
3) Used thick gesso to add some texture using Tim Holtz burlap on the top aspect.
4) I stamped the penny black divine stamp first directly onto the pattern paper and secondly on white cardstock. Coloring the flowers red both on the cardstock and on the pattern paper, I cut one of the petals of the flower from the cardstock and added it to the pattern paper used double sided tape to raise it a bit on the pattern paper.
PMV01
5) I randomly used some mixed media stamps and gave a wash of watered down gesso.
PMV002
PMV03
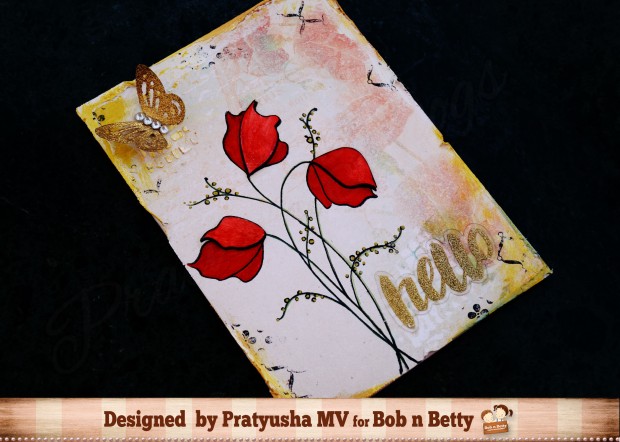
6) Finally for the sentiment used ‘Hello’ from poolside ephemera collection.
PMV04
For final touches used Viva decor gold paste to add some highlights.
PMV05
This will now get onto my mom’s fridge where she hoards most of my creations:)
Hope you loved the creation
Happy Summers
Thanks for stopping by
Lots of love :)
Pratyusha

Tuesday, 24 May 2016

Gift bag Tutotial- Feat. BobnBetty Ornate paper collection

Heya folks,
Girls love to have an attractive assortment of bags in their closet. Be it a college day or an event, a bag is a must have accessory for every girl. So, how about giving it a creative bend? The bags that you usually carry either have some metal embellishments or of single color. 
The creative beast within me compelled me to try something out of the box. For this I chose Ornate Annie pattern papers from Bob n Betty. No paper could have been a better choice for making these bags.
PMV 12
This was a trial and it turned out to be beautiful. I didn’t take pics while making it, so for the pictorial I’ve used other paper from Ornate Annie.
The  Material required:
  • 2 Bob n Betty pattern papers from Ornate Annie collection. ( I am using 6×6 inch papers)
  • Canvas that would fit both the pattern papers.
  • Mod Podge
  • Paintbrush
  • Brayer
  • Needle and thread
  • Distress stain in colors of your choice, stamp pad in colour of your choice
  • Ribbon
  • Beads and charms to decorate the bag, Viva décor inka gold paint
  • Stamps and stencils!!!
PMV 1
Part 1 : Pictorial for Image Transfer
PMV 2
PMV 3
PMV 4
PMV 5
PMV 6
PMV 8
PMV 9
Repeat the above steps for the second pattern paper also and cut both the canvases to size.
Part 2 : Making the bag.
  • Once the canvas is cut to size. Oppose the canvas with the pattern to each other and clip them at one end.
  • I don’t have mad sewing skills. I just used a simple running stitch to sew the canvases together on 3 sides.
  • Once sewing is done. Reverse the canvases to get a pouch with one side open.
  • Punch holes to the free side of the pouch to attach the ribbon.
  • Now it’s left to your imagination as to how you decorate it. I used co-coordinating Tim Holtz distress stain to cover the areas where the image transfer was not up to mark.
  • I used coordinating color of ink pad and used mixed media stamps to randomly cover the canvas on both the sides.
  • Later I used Viva décor Inka gold and stencil to add some more interest to the finished bag.
  • Once happy with the look of the gift bag. I added in some beads and charms to finish it off
PMV 10
PMV 11
Hope you all enjoyed the process of making this gift bag.
Thanks for stopping by
Lots of love
Pratyusha