Heya folks!! It's been quite sometime since I shared a tutorial with all of you.
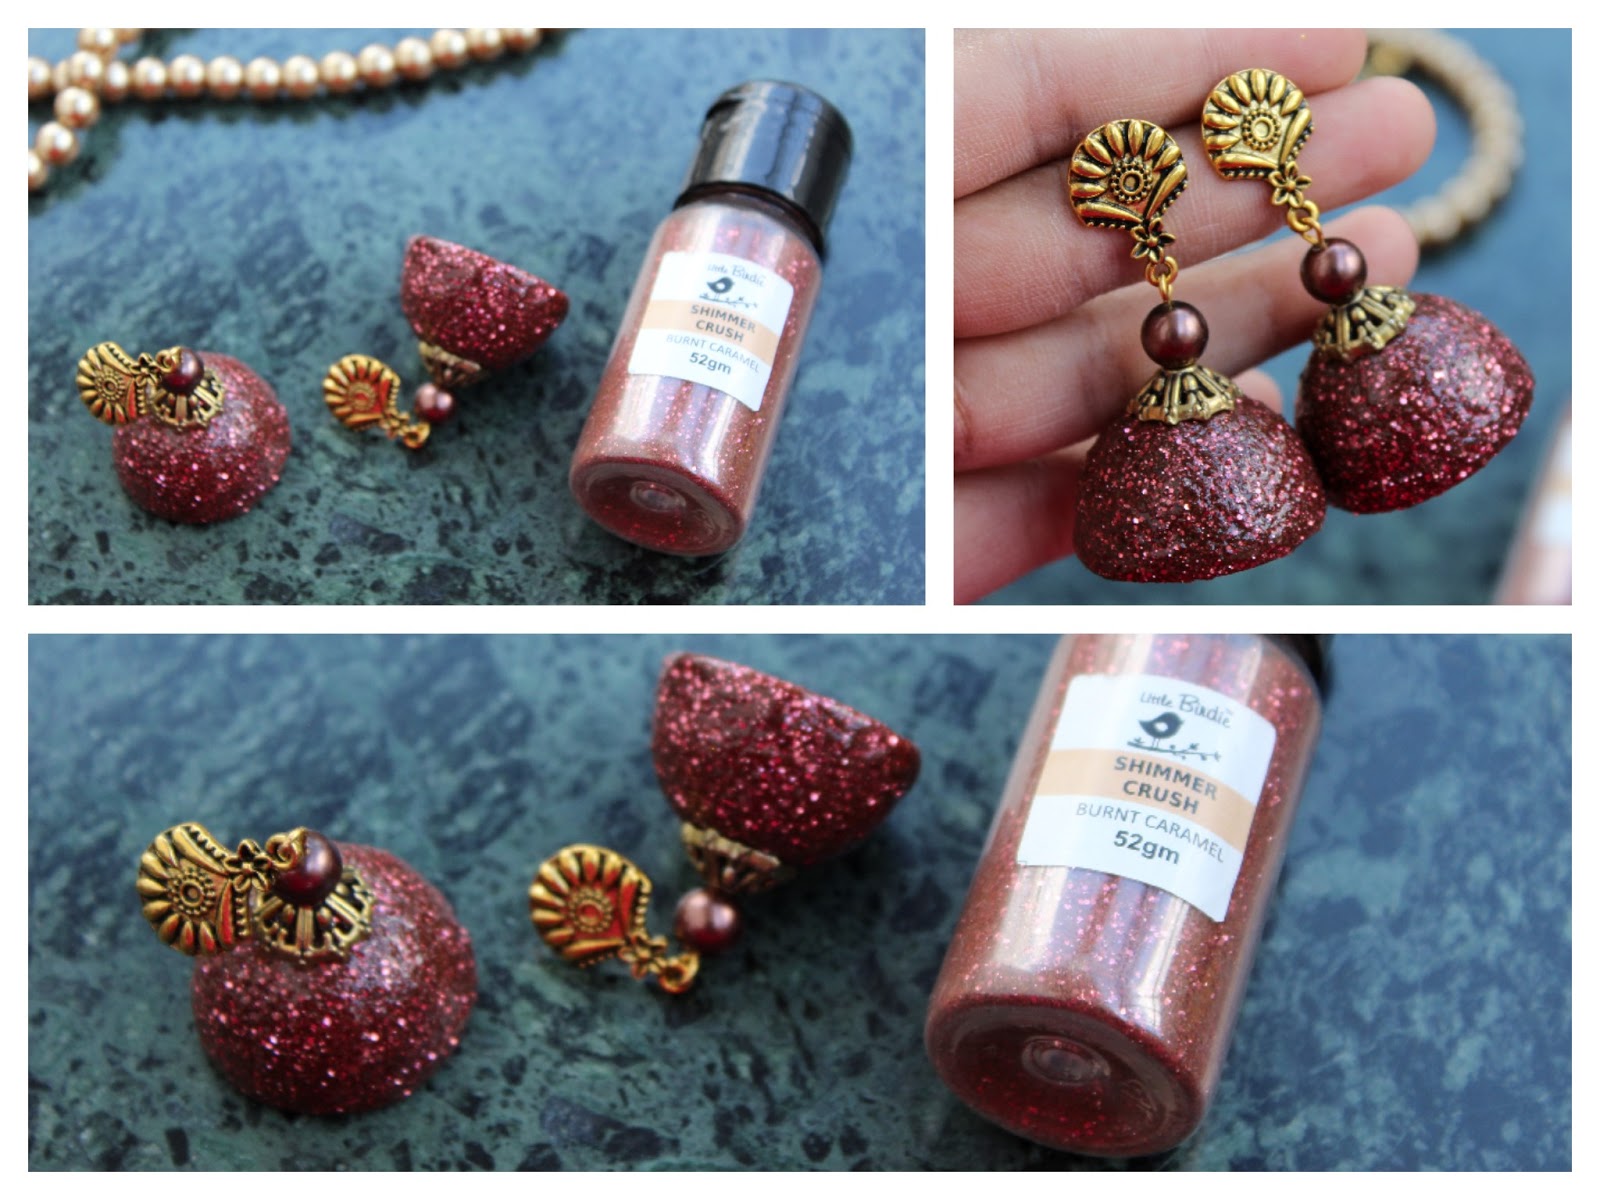
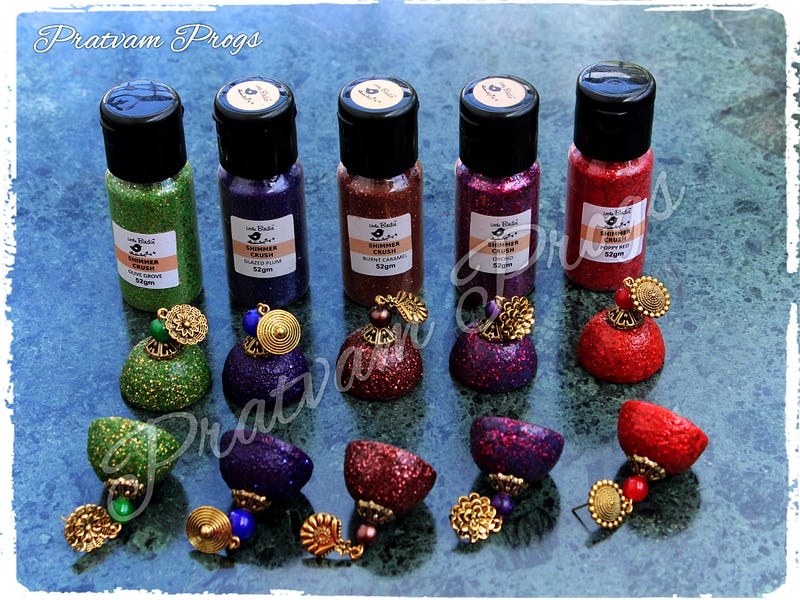
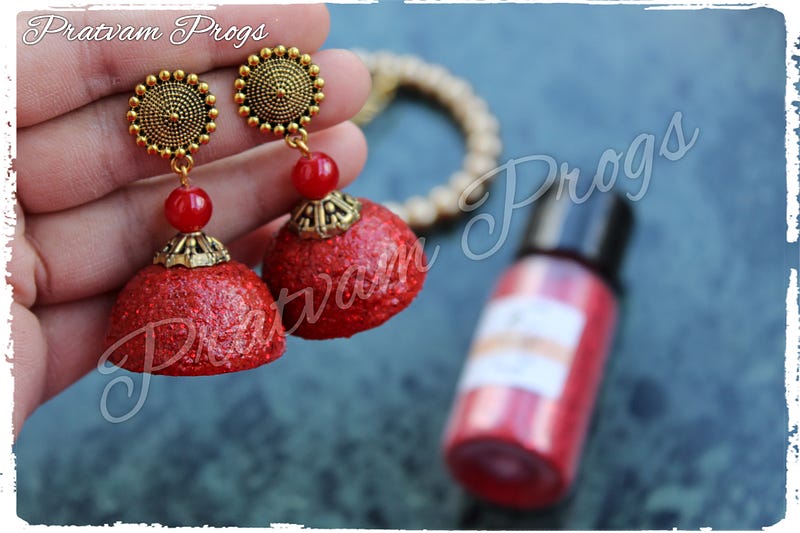
Today I would like to share a project regarding “How To Make Basic Shimmer Crush Glitter Jhumkas.” which are always in trend to add glam to your fashion and stand unique everytime….This is for all who love traditional accessories. so lets begin with few steps on making jhumkas…
Materials required:
#Quilling strips (3mm or 5mm depending on your choice)(5–7 strips to make a dome)
#Fevicol
#Quilling mold
#Quilling tools
#Tooth picks
#Itsy Bity’s Shimmer crush glitter (you could you any glitter powders you have)
#Itsy Bitsy’s decoupage gloss glue.
#Earring findings (as per your wish)
#Thermocol base
#Paint brush
Method:
Step.1: Roll togerther 7strips of 3mm quilling strips. Give it a dome shape using the quilling mold. Make sure the dome is smooth and doesn’t have ridges. Apply fevicol to the underside of the dome and let it dry.
Step.2: Once properly dried for 1 hour. Insert a toothpick to the underside of the dome so that you can hold it easily.
Step.3: Apply a coat of decoupage gloss glue and sprinkle a uniform layer of Summer crush glitter powder. Try to tap excess away as much as possible.
Step.4: Leave it to dry for 1 hour on the thermacoal base. Once dry use a paint brush and remove any loose particles of the glitter powder.
Step.5: Repeat steps 3 and 4 two more times for a good coverage.
Step.6: Once satisfied with the coverage, apply a uniform coat of decoupage gloss glue and let dry. Once dry apply a coat of varnish.
Step.7: Lastly add your earring findings to complete the jhumka.
Heya folks,
Its 1st of november and at Indian craft room we are back with another challenge. And from this time on, its gonna be a month long challenge!!!
This moth is a flavour board challenge. its time for ICRCPREWIN01 Coasteride!!!
I love the flavour board coz the way each person interprets it, is going to be different and it will be quite interesting to see what you all will come up with...
Now for my creation. I made a nameplaque. I have really come a long way in my procedure of making my nameplaques. I am really happy with the way my new techniques that I am picking up are shaping out as a overall product!!!
I should also thank my customers who put in their immense trust in me to make something special each time. Thanks to Carolyn Daniel for this order.
This nameplaque is my 2nd full fledged mixed media nameplque. I am quite happy with the results.
Here's a brief procedure review- The base of the nameplaque is a thick cardstock. I applied 2 coasts of gesso to it. Added textures using various templates from Crafters Workshop. the textures were added randomly. I then played around with Viva decor inka gold colours and Tim holtz distress paints to create the background.
Once I was satisfied with the background. I got down to quilling.
Hope this post inspires you to play along with us in this challenge.
Materials used-
1) Thick cardstock
2) Gesso and quilling strips from Itsy bitsy
3)Crafters workshop templates- Harlequin and Art is
4) Viva decor Inka gold- purple, lilac, pink and rose pink
5) Tim holtz distress paint- spiced marmalade- from thecraftshop.in
6) mulberry flowers from various sources
So that's all from me now... We have a 500 Rs gift voucher waiting for the artist who blows our mind away with their creation keeping the flavour board in mind.
I have been very reluctant to make jhumka's. I myself don't accessorize much so the last time I made jhumka was maybe 2 years ago for a order. This time I had my friends asking me to do them. So here I am with my attempt at quilling jhumka. Yup these are made completely from paper. I would love to hear what you all think of this attempt.
This is a pic loaded post and scroll till the end for the video tutorial for the Quilled Decoupage Jhumka's.
I had help from fellow crafter Janani who made a video to show me how to make the quilled dome bases. Thanks a ton gal :*
I initially used 3 mm strips now have shifted to 5mm strips to make the quilled dome bases. I am really happy with the way these Jhumka's are turning out.
I started of with simple jhumka's. A classic combo of red with gold. Red Riot it is.
Then came in the idea for decoupaging on the jhumka surface. As its a dome I couldn't use bigger patterns so I searched my stash for the smallest flowers possible to make these.
The result is awesome and is loved by everyone.
Now for the best part of the post.
The video!!!
Here's a link to Janani's video for rolling and making the jhumka bases: https://www.youtube.com/watch?v=Qc6hE2CVpcE
The list of materials used for making:
1) Quilling strips- 5mm from itsy bitsy
2) Quilling Slotted and needle tool from Shilpi
3) Mini mold by Quilled creations
4) Fevicol
5) Camlin's artists Gesso from itsy bitsy
6) Paintbrush
7) Decoupage tissue napkins collected over time
8) Scissors
9) Decoupage gloss glue by Artzone from itsy bitsy
10) Earring findings- various sources
Hope the video inspired you. Do share your feedback. Would love to hear what you think of it :)
And yes If the response is good. Will do videos on the other techniques too if and when I have holidays that is :P :D
Disclosure: I am not endorsing any particular product here and this is my opinion only. Individual opinions might differ!!!
When I was contacted to make a b'day card I got down to thinking about how to integrate all that the customer wanted in the card!!!!
The customers outline for the card
1) Card must have 'Happy Birthday Akhi' in the front.
2) Light blue colour should be used
3) A personal message
So after some thought I decided to make an easel card with a difference... this will be a picture loaded post so bear with me :)
The outer envelope made out of white thick board and used blue ribbon For tying and the stamp used is from Stamping bella that I had won from Jovita of Creativita :)
So this is the flat view of the Easel card. Used the white and blue quilling strips to make this card. As in all my typographical projects I printed out 'Akhi' on a blue cardstock and used Modified beehive technique to fill up the name. I made small flowers using blue and white strips and used rhinestones for their center.
Printed out the Happy B'day sentiment and went over it with a silver gel pen and put some pearls to the edges. I used foam tape underneath it to give it a raised effect.
As it is a easel card it stands up and holds its place because of the layered cardstock. Used some white felt flowers and stuck rhinestones to them. Stamp used is from Fiskars- Make a wish quote. Used brilliance Dew drop platinum planet to stamp the image.
This is the open view of the card with the quote the customer wanted.
The quote- 'The joy of stepping into another year of life is to keep smiling always and to spread true happiness all around forever'
I printed the quote on blue cardstock and went over with it using silver gel pen.
Some closeups of the card :)
The order is being packed and will be on its way to New York today :)
Hope the customer likes the card as much as I loved working on it :)
This was the 2nd plaque that the same customer has ordered for and the only requirement he had was- it has to be colourful and please don't use black colour.
This will always remain one of those challenging projects that I did... that I will always remember. Coz I finished it in a weeks time. I took my own sweet time to finish each letter and I think the end result was worth all the time that I took to finish the project!!!
So yet again this will be a pic loaded post so rest back and continue :) As of now You must know all the steps that I work through...
Selection of font, printing on thick card- chose white this time. cutting out of the letters and initial outlining with white quilling stips... I used 5 quilling strips to finish the outline... And this took me 30 mins to finish.
The hardest part began when I started off with the filling of the letters...U can see the series of pics when the work was in progress. I chose to use colours that would be soothing and wanted a kind of gradient look.
I took nearly 4-5 hrs to quill each letter... my slowest work ever I guess :P
My mom used to peep in every now and then to check the progress of the work :) even she will accept that this is one of those projects where I used up all my brain power :P
Finally I finished the project... and was pretty happy abt the way it turned out. Sent out the pic of the same to the customer. The customer was elated and now just wanted a few flowers to be added...
As the customer requested we put in flowers( tulips). I really like the tendrils :)
Added the tulip buds and then gave them a touch of viva decor gold.
The completed final project :)
Linking this upto
1) Colour conceptions challenge- Anything but cards- this is a personalosed plaque measuring 17*7.5 inches.
2) Pinque Peacock challenges- #4 Flowers- used tulips- full bloomed and buds!!!
I have been doing name plaques for over 2 yrs now...But when I got this call from New Jersey I was in for a surprise as this was not a order for a name plaque but an order for a personalized quilled plaque with the word IMAGINE to be quilled...
I knew I could do it, but figuring out how to do it was the actual challenge. IMAGINE- the word has wide array of possibilities, so I started jotting down random ideas that came to my mind in my book. After a lot of thought I narrowed it down to a single idea, then started the making of the quilled Imagine :)
This will be a picture loaded post showing you the various steps of the quilled piece in the making...
1)The first step was selecting the font, printing it on thick paper and cutting the letters out using a cutter and then sticking the cut letters onto the base sheet I chose. I deliberately chose grey as the base.
2)The second step was to do the outlining of the letters. I chose to do it with white. This took me 45 mins to finish.
3) Then I started to fill each letter Up..This is beehive technique but a bit modified version...
As the customer while ordering clearly mentioned that he wanted it to be colourful... I chose do it this way... Went from dark Violet to red colour... Not the Rainbow colours exactly but somewhat similar....thus this is the finished Imagine... Now it was time to work around the piece.
So I added felt clouds and stars and the quilled moon which I again used modified beehive to fill up.
after adding the felt clouds I again went around them using white paper strips to give a raised effect. This was the first project where I tried to integrate felt into the project and I am happy with the way it has turned out. As they say you can't be sure of something till you have tried it. So here goes a trial that turned out to be a good one. :)
Here's the close up for the moon and stars :)
Then I decided to add a few flowers, so used basic shapes in quilling to make the flowers and added
co-ordinated rhinestones to the flowers and the leaf scrolls.
Another angle of the flowers!!!
The completed product. i really like how all the elements fell into place.
Angled shots of the completed products
I comepleted this project in 30hrs!!!
This was my 7th international order. It went all the way to New Jersey. The customer is really happy with the results!!! Will post what the customer had to say about the plaques that were delivered in the next post as he ordered 2 plaques. :)
This is gonna be a pic loaded post as I will be sharing all of my previous quilled name plaques...
Over the past 3 years I have had A few of enquiries and orders for this product of mine... I feel happy that people love the work and thus appreciate it...
I am doing this post today as I want to share My work from the previous times so that when I post my new works, if you are interested can always come and visit this page to see how I have evolved and the different variations I put into it!!! So here's hoping you like the post :)
I will be uploading the pics according to their order wise...Each of these are linked to their respective albums on my Facebook page that You can visit here.
1) Akhilesh- This was my first attempt at making a Quilled name... It was made on a A4 size handmade sheet using light blue, forest green and white as the dominant colours...
2) Welcome- Made this using various quilling techniques!!! The requirement by the customer was that it had to have 'OM' in it....
3)Avnish Kumar- This was made using the colour combinations the customer had decided... Have used Beehive technique here...
4) Devaniya And Prakash- This was ordered by a customer as a wedding gift...The colours were chosen by the cutomer keeping in mind the favorite colours of the couple.
\
5)Shwetavnish-Red is the colour of love isn't it... Combination of various quilling tecniques!!!
6)Shweta- A simple quilled name plaque to be placed Inside the room... Used fringed flowers, basic quilling and beehive technique.
7)Anurag- Yet again a combination of various quilling techniques...
8) Priyam and Sandeep- A customised order for a newly wedded couple whose favorite colour is blue.
9)Aditi- Use of various techniques in quilling again to make a cutomised piece for a gift.
10)Rucha And Raison- An order I made For a person who has managed to change thousands of lives including a few of the people I personally know. A great teacher, a great visionary, a great support... Made this for my Teacher Mr. Raison for his wedding day...This was a project I think I out Did my self.. Everything fell into place including the design... Magnets are added to the bridegroom and bride's figurine's so that they can be interchanged with the handmade flowers... I really like the way how this turned out to be... I was studying for my PG exams and made this over a span of a week whenever I needed a break from studying....This work was completed in December 2013.After this was done I had taken a small break from crafting till I finished my exams till mid Feb 2014.
11)Carolz Jewelry-This was the first personalised frame I made after I reopened for orders in Feb 2014. This is made for a store named Carolz Jewelry which is Near Sarjapur road. This was a order That I experimented using metalic end silver and golden strips... used Lindy's stamp gang Sprays to get the glowing effect.. Used Viva decor inka gold-Silver to highlight the letters...The tulips everything in this frame is quilled... Took me 2 days to finish...The font the colours was all decided by the customer...
12)Preksha- This quilled name plaque with the photos of the b'day girl was finished in 4 hrs straight... The customer didn't want a lot of quilling so I decide to experiment with the background... I used laces, masking tape, tissue paper and Lindy's stamp gang sprays to make the background... The customer also wanted a quilled girl to be placed in the frame that would look like the B'day girl...
\
13) Life- Life quilled on a 4*4 inch Canvas...Coloured the canvas using teal colour... then using quilling techniques made this project. It took me 1hr 30 mins to finish the whole project!!!
This is all I have for today
Keep checking back for more of my Typographical quilling works!!!